Thankfully, Google has introduced a new tool in the toolbox for students and researchers. It’s called Google Docs Explore, and it’s an amazing tool for streamlining the researching and writing process. The way it works is Explore will scan the text in your article — either the entire document or your highlighted text. It’ll then help you locate sources for your research, and even assist with properly citing those sources.
How to Use Google Docs Explore
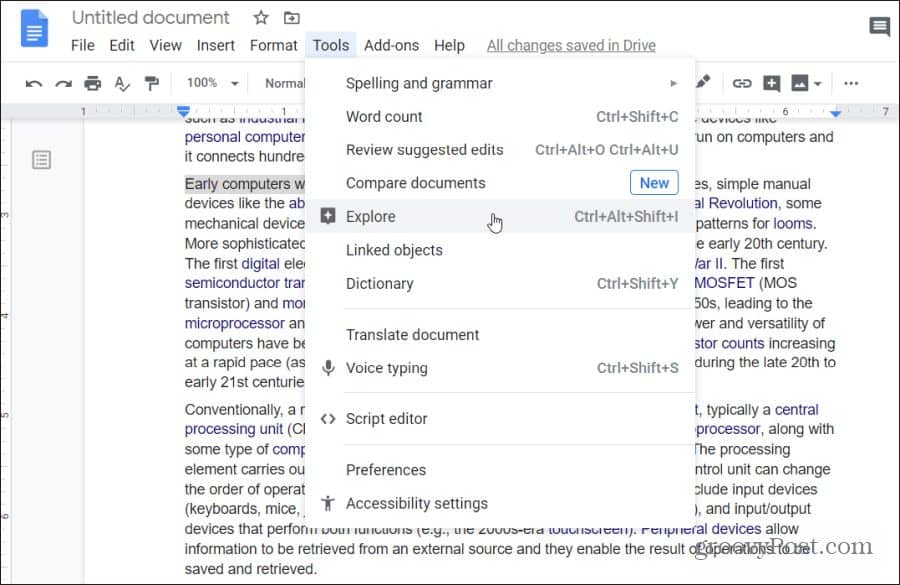
While you’re writing your essay or paper, if you need to dig further into a topic, just highlight the text that describes the topic. Then select Tools from the menu, and select Explore.
Another quick way to access the Explore feature in Google Docs is selecting the small square icon with a plus inside of it at the lower right corner of the screen.
Either method will open the Explore feature. The following happens when you open Explore:
An Explore panel will open on the right side of the windowExplore reads the content on your page, and suggests things you could addYou’ll see a list of topics that you could explore further to add to your documentIt shows you a list of related images you could potentially add to your document
All of these suggestions appear inside of the panel to the right.
You aren’t limited to what Explore suggests either. If you want, you can use the search field at the top to search the internet for other topics. This search feature performs multiple searches at once. It’ll conduct a web search on the topic you type. And it’ll also search through your Google Drive account for existing documents related to that topic.
Exploring Topics With Google Explore
Most of the time, the suggested topics listed inside the Topics section of the Explore panel are directly related to what you’re already writing about.
Finding Related Topics
Just scroll down this list of suggested topics and select one to research further.
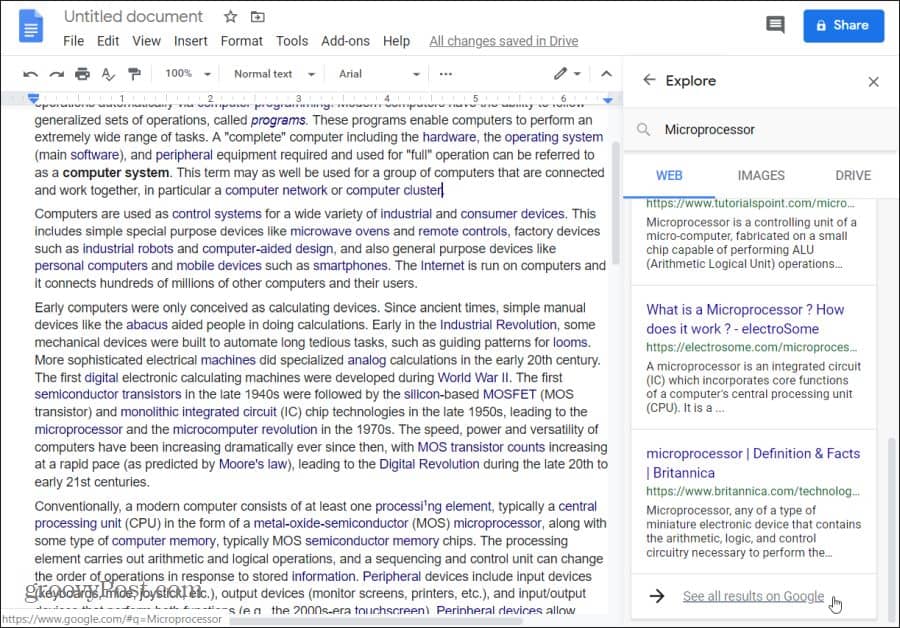
Once you select a topic, Explore will sift through the internet for related web pages. Those URLs will appear in a list under your search field. Each item listed here includes:
Title of the web pageURL of the web pageA short synopsis
These are similar to what you would see if you conducted a regular search on Google for the topic. Scroll down this list of web results and when you see one that looks interesting, you can select it to open that page and read through the article.
Selecting Citation Formatting
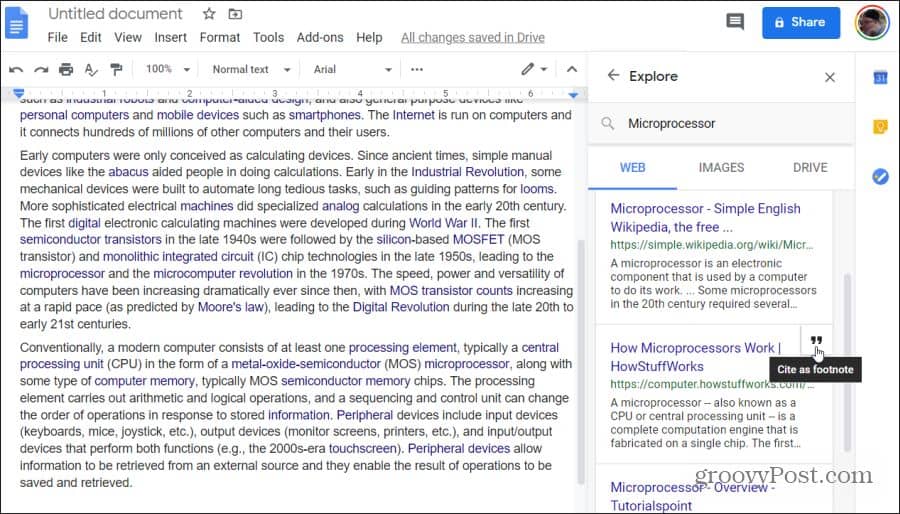
If you find that you’d like to use that web article as a source for your own essay, you can enter it as a resource in your own essay. Google Explore helps you format that citation using the correct format. To make sure the citation superscript appears at the right spot in your document, make sure to place the cursor there first. Then, select the quotation mark icon at the upper right corner of the source you want to cite.
This will insert the citation into the footer of your document, on the correct page. It uses the correct citation format depending on which formatting option you’ve selected.
Which source formatting options are available?
MLA: Modern Language Association (MLA) citation and format style is commonly used throughout college humanities disciplines.APA: American Psychological Association (ALA) citation and format style is commonly used within the social sciences.Chicago: Chicago Manual of Style (CMOS) citation and format style is commonly used throughout all forms of literature and the arts.
Currently, these are the only three citation formatting options available in Google Explore. To select which formatting option you want Explore to use, select the three dots in the web results window, beside the words Web results. This will drop down a selection window where you can choose your preferred formatting style.
Once selected, Explore will format the footnote according to those formatting style guidelines. This ensures that you’ve properly cited web resources you choose in the footer of your essay.
Exploring Images With Google Explore
The image results that appear inside the Explore window are also useful.
Adding Images to Documents
To see suggested images, select the Images menu header inside Explore search results. This displays images from the web that most closely relate to the topic you’re writing about in your document.
If you spot an image that you feel relates well to something you’ve mentioned in your essay, you can add that image to your document. First, place your cursor in the document exactly where you want the image to go. Then, just select the + icon at the upper right corner of the image.
This will place the image directly where your cursor is located. It’ll insert the image at the full width of your document and center-aligned.
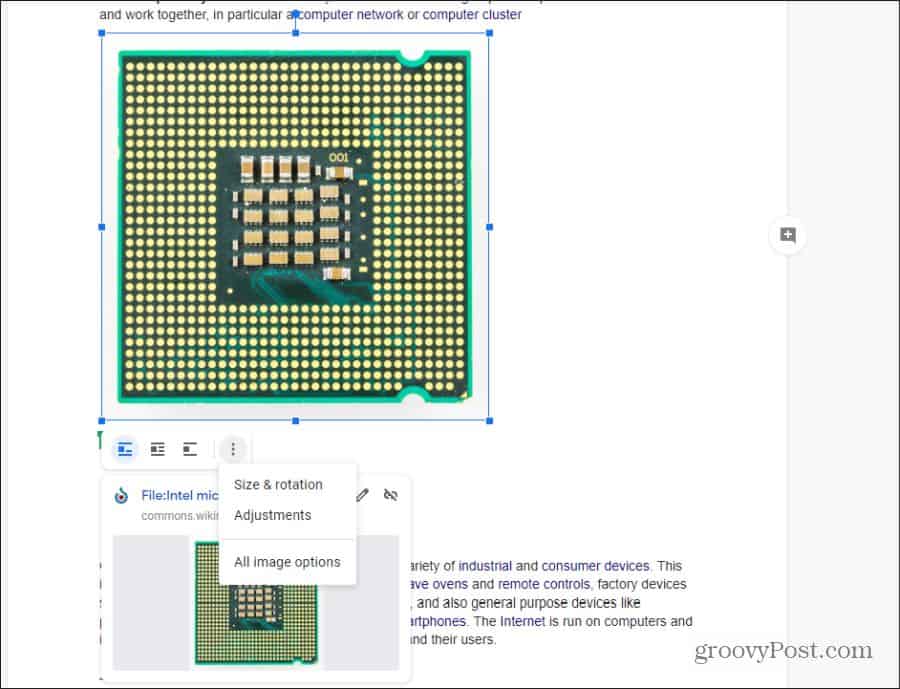
Reformatting Inserted Images
To resize the image, just select it where it appeared in your document. Then use the handles on the sides of the selection border to resize the image.
You can also select any of the image placement icons under the selected image to change how it appears in the document.
In line: Places the image, centered, at the beginning of a new line of textWrap text: Wraps the text around the image, with a small spacing border near the imageBreak text: Places text above and below the image
If you select the three dots to the right of these options, you’ll see selections to size and rotate the document, or make other formatting adjustments to your image. Note: All suggested images that Explore recommends are labeled for commercial reuse with modification. This means the images are free to use with minimal copyright restrictions. If you’re using the images in an educational or non-commercial document, there are most likely no restrictions at all.
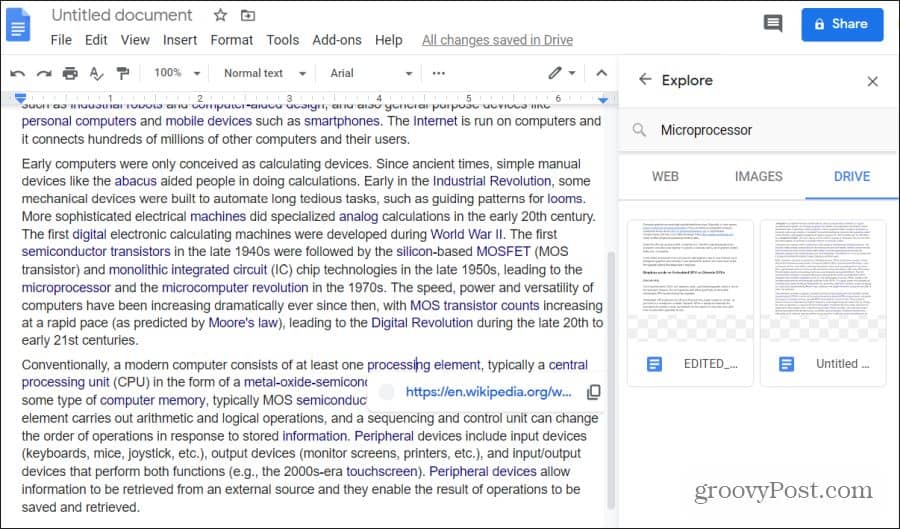
Google Documents Explore Drive Results
A big part of research is combining your past research results into your current work. Google Explore helps you discover past things you’ve written that are related to what you’re writing now. You’ll see these results when you select Drive in the Explore results pane.
These are all your documents in your Google Drive account that relate to the topic you’re currently writing about. Just select any of those documents to open them, and then copy and paste anything you’ve written in the past to reuse it in your current document. This feature is very useful if you’re not the greatest at organizing your Google Drive account. Explore will locate any related document in your Drive regardless of where it’s stored.


![]()
