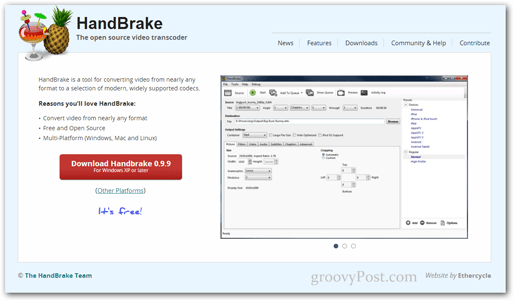
Before you begin, you’ll need to download and install HandBrake – a free application for Windows, Mac OS X, and even Ubuntu. You can get it for free from the official HandBrake website. We’ve talked about Handbrake a lot as it’s our go-to freeware tool for transcoding data.
Since HandBrake may require some file updates, I recommend that you launch it as an administrator. To do so, open the Start Menu and type in HandBrake. Once the application comes up as a result, press Ctrl+Shift+Enter to execute it with full administrative privileges.
Setting a default output directory
If this is the first time you’re using HandBrake, you’ll have to set a default output directory for your files. If you don’t know how to do this, here’s a quick tutorial to help you out.
Configuring output settings
Now it’s time to begin ripping. Insert your DVD and then press the Source button to select its directory.
Once you’ve selected your source, HandBrake will analyze the contents and bring you a list of titles to choose from.
For this tutorial I’m only going to rip one chapter off of the DVD, however, you can set HandBrake to rip as many or as little chapters as you like.
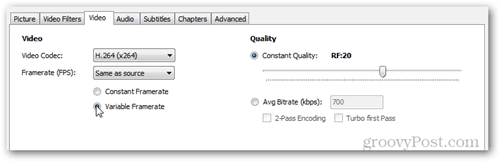
Make sure to select your preferred format – either MP4 or MKV. Personally, I like MKVs better. You can tweak the settings of your rip and configure all sorts of different options such as frame rate, picture cropping, resolution, video compression, and so on.
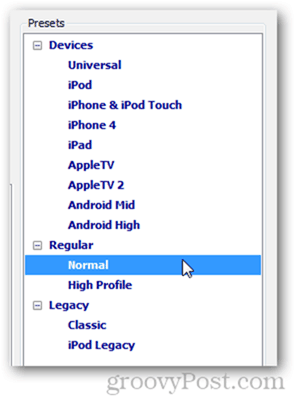
There is also the option to select from a variety of different presets if you’re going to convert the DVD for a specific device (perhaps for an iPad or maybe an iPhone?). This is very useful if you don’t know the optimal bitrate that your device supports and you just want a quick video setting so you can ensure your video will play correctly.
If you’re happy with all of your output settings you can proceed by pressing the Add to Queue button.
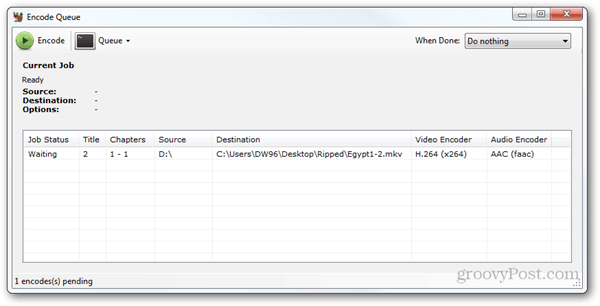
After pressing the button you will be brought to the Encode Queue window. From there you can take a final look at your export settings to make sure everything is OK.
Pro tip You can pick an action to perform after the ripping process is complete. For example, I can make the computer auto shut down or even lock up.
Now press the encode button to begin.
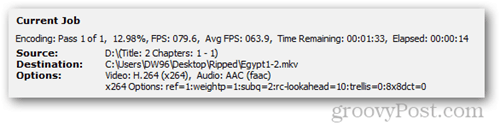
The job status should change to “In Progress” and the Current Job pane should show you all information about the ongoing task.
Since we already have several HandBrake articles which you may have already read, it won’t really come as a surprise to anyone if we say that HandBrake delivers great quality video and can also rip at very good speeds.
Comment Name * Email *
Δ Save my name and email and send me emails as new comments are made to this post.


![]()
