Select the Folders You Want Sync in Google Drive
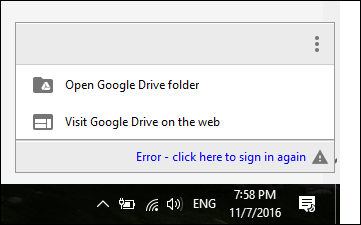
First, make sure you are signed into Google Drive. Right-click the Google Drive icon in the Notification area. If it does not appear there, click Start > All Apps > Google Drive > Drive. For Mac users, you can find the Drive icon under Finder > Applications. Proceed to right-click the Google Drive icon in the Notification area, click the elliptical menu, then click Preferences. On OS X, click the Drive icon on the menu bar.
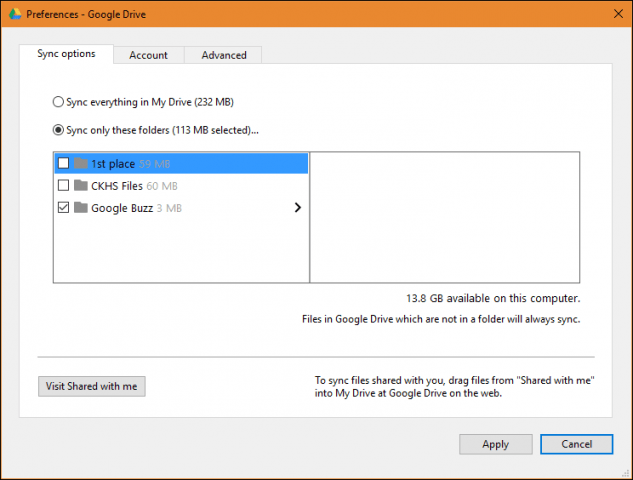
Select the Sync Options tab, then choose the Sync only these folders radio box. Check only the folders you wish to sync.
Click Apply, then Continue to confirm changes.
If you are new to Google Drive, check out our other articles on setting up the Google Drive Client. Another favorite tutorial you should review is how to integrate Drive with applications such as Microsoft Office; if you want to set it up as your default location for saved documents. Final note, a few users mentioned that they didn’t have these Sync features. After investigating, it turned out they needed to download the latest version to resolve problems connecting or syncing. Do you have a Google Drive tip? Drop it in the comments. I would love to hear from you! Comment Name * Email *
Δ Save my name and email and send me emails as new comments are made to this post.


![]()
